We can’t talk about Centos Web Panel server management without mentioning. CWP stands for CentOS Web Panel, and CentOS is a popular operating system that can be found on both VPS and dedicated servers. CWP is a free web hosting control panel designed for quick and easy server management (both VPS and dedicated server) without the need or hassle of using an ssh console every time you want to do something on your server, making it especially useful for those unfamiliar with Linux commands and shell scripts. In its control panel bundle, this panel provides a plethora of options and functions for server management.
We at palexweb are pleased to present CWP as the third panel in this series of tutorials to our global users. Using all of the capabilities given by this panel, one may easily begin managing and configuring CentOS servers with CWP & WHM. You may also request that a bespoke module be built for integration.
Table of Contents
What services does CWP(Centos Web Panel) provide?
CWP instantly installs a full LAMP software bundle on your preferred Linux server, including Apache, MySQL, PHP/Perl/Python, and an admin interface that allows you to set up a webserver, webmail, and mail servers, among other things. With its bundle, you can also quickly migrate from your cPanel account to the free CWP panel in a few clicks. More information is available on the CWP website.
If you don’t want to disturb anybody else, we’ve developed a script that will allow you to rapidly install the CWP panel with complete control, Prerequisites: see below. It is quite similar to the VestaCP or cPanel guides, as explained in the first VestaCP tutorial in this series.
- A fresh operating system with no extra control panels installed and no configuration modifications For 32/64 bit operating systems, at least 512M/1024M RAM and a 10G hard drive are required. If you also want full functionality, such as anti-virus scanning of emails, 4GB+ RAM is suggested.
- A virtual private server (VPS) or dedicated server running CentOS 6.x, 7.x, RedHat 6.x, 7x, or CloudLinux 6 with a static IP address and root login privileges.
Login information for the palexweb client account - Login information for the SolusVM account
- If you acquired your domain from us, you will have a legitimate domain with DNS Management activated.
Step 1: Configure your nameservers, records, and reverse DNS.
This is similar to the other panels introduced in the first two tutorials (VestaCP and cPanel).
Step 2: Set up the CentOS web panel.
Log in to your VPS using your root login credentials, then run the fully tested script “cwp” as follows:
        $ ssh root@server-IP-address
        $ cwp
Or you can do everything step by step by downloading the script online yourself:
        cd /usr/local/src
        $ wget http://centos-webpanel.com/cwp-el7-latest
        $ sh cwp-el7-latest
After the installation is complete, you must log in to your SolusVM in order to reboot your VM. Simply go back into your VPS or dedicated server and use the following command to finish the installation – specifically, to change the palexweb Mail Server information.
        $ ssh root@server-IP-address
        $ eximpatch
Step 3: Use the CWP interface to manage your server.
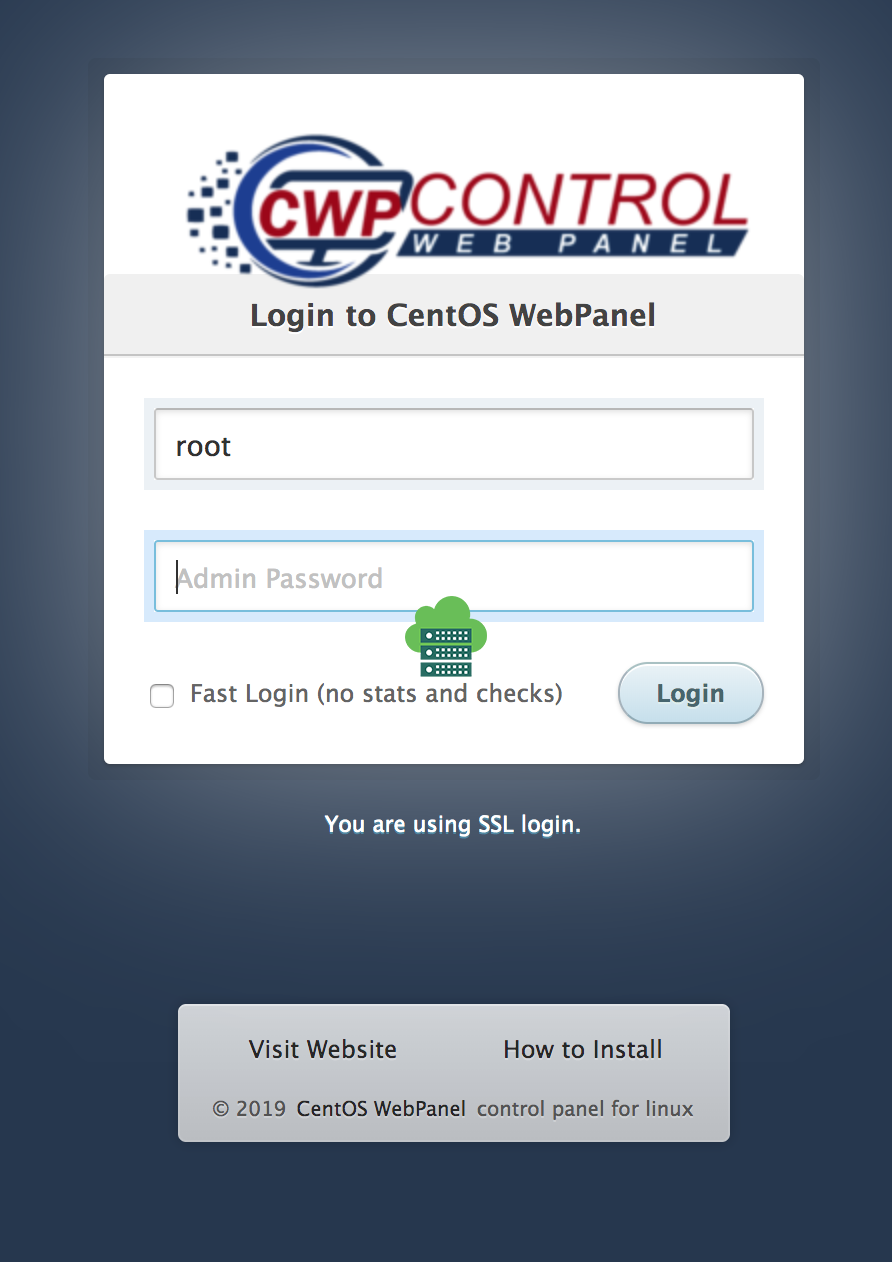
Access your server using the CWP panel using the following information in your preferred web browser.
https://185.xxx.xxx.xxx:2030
Username: root
Password: xxxxxxxxx

Part 3: A short walkthrough of the CWP panel interface

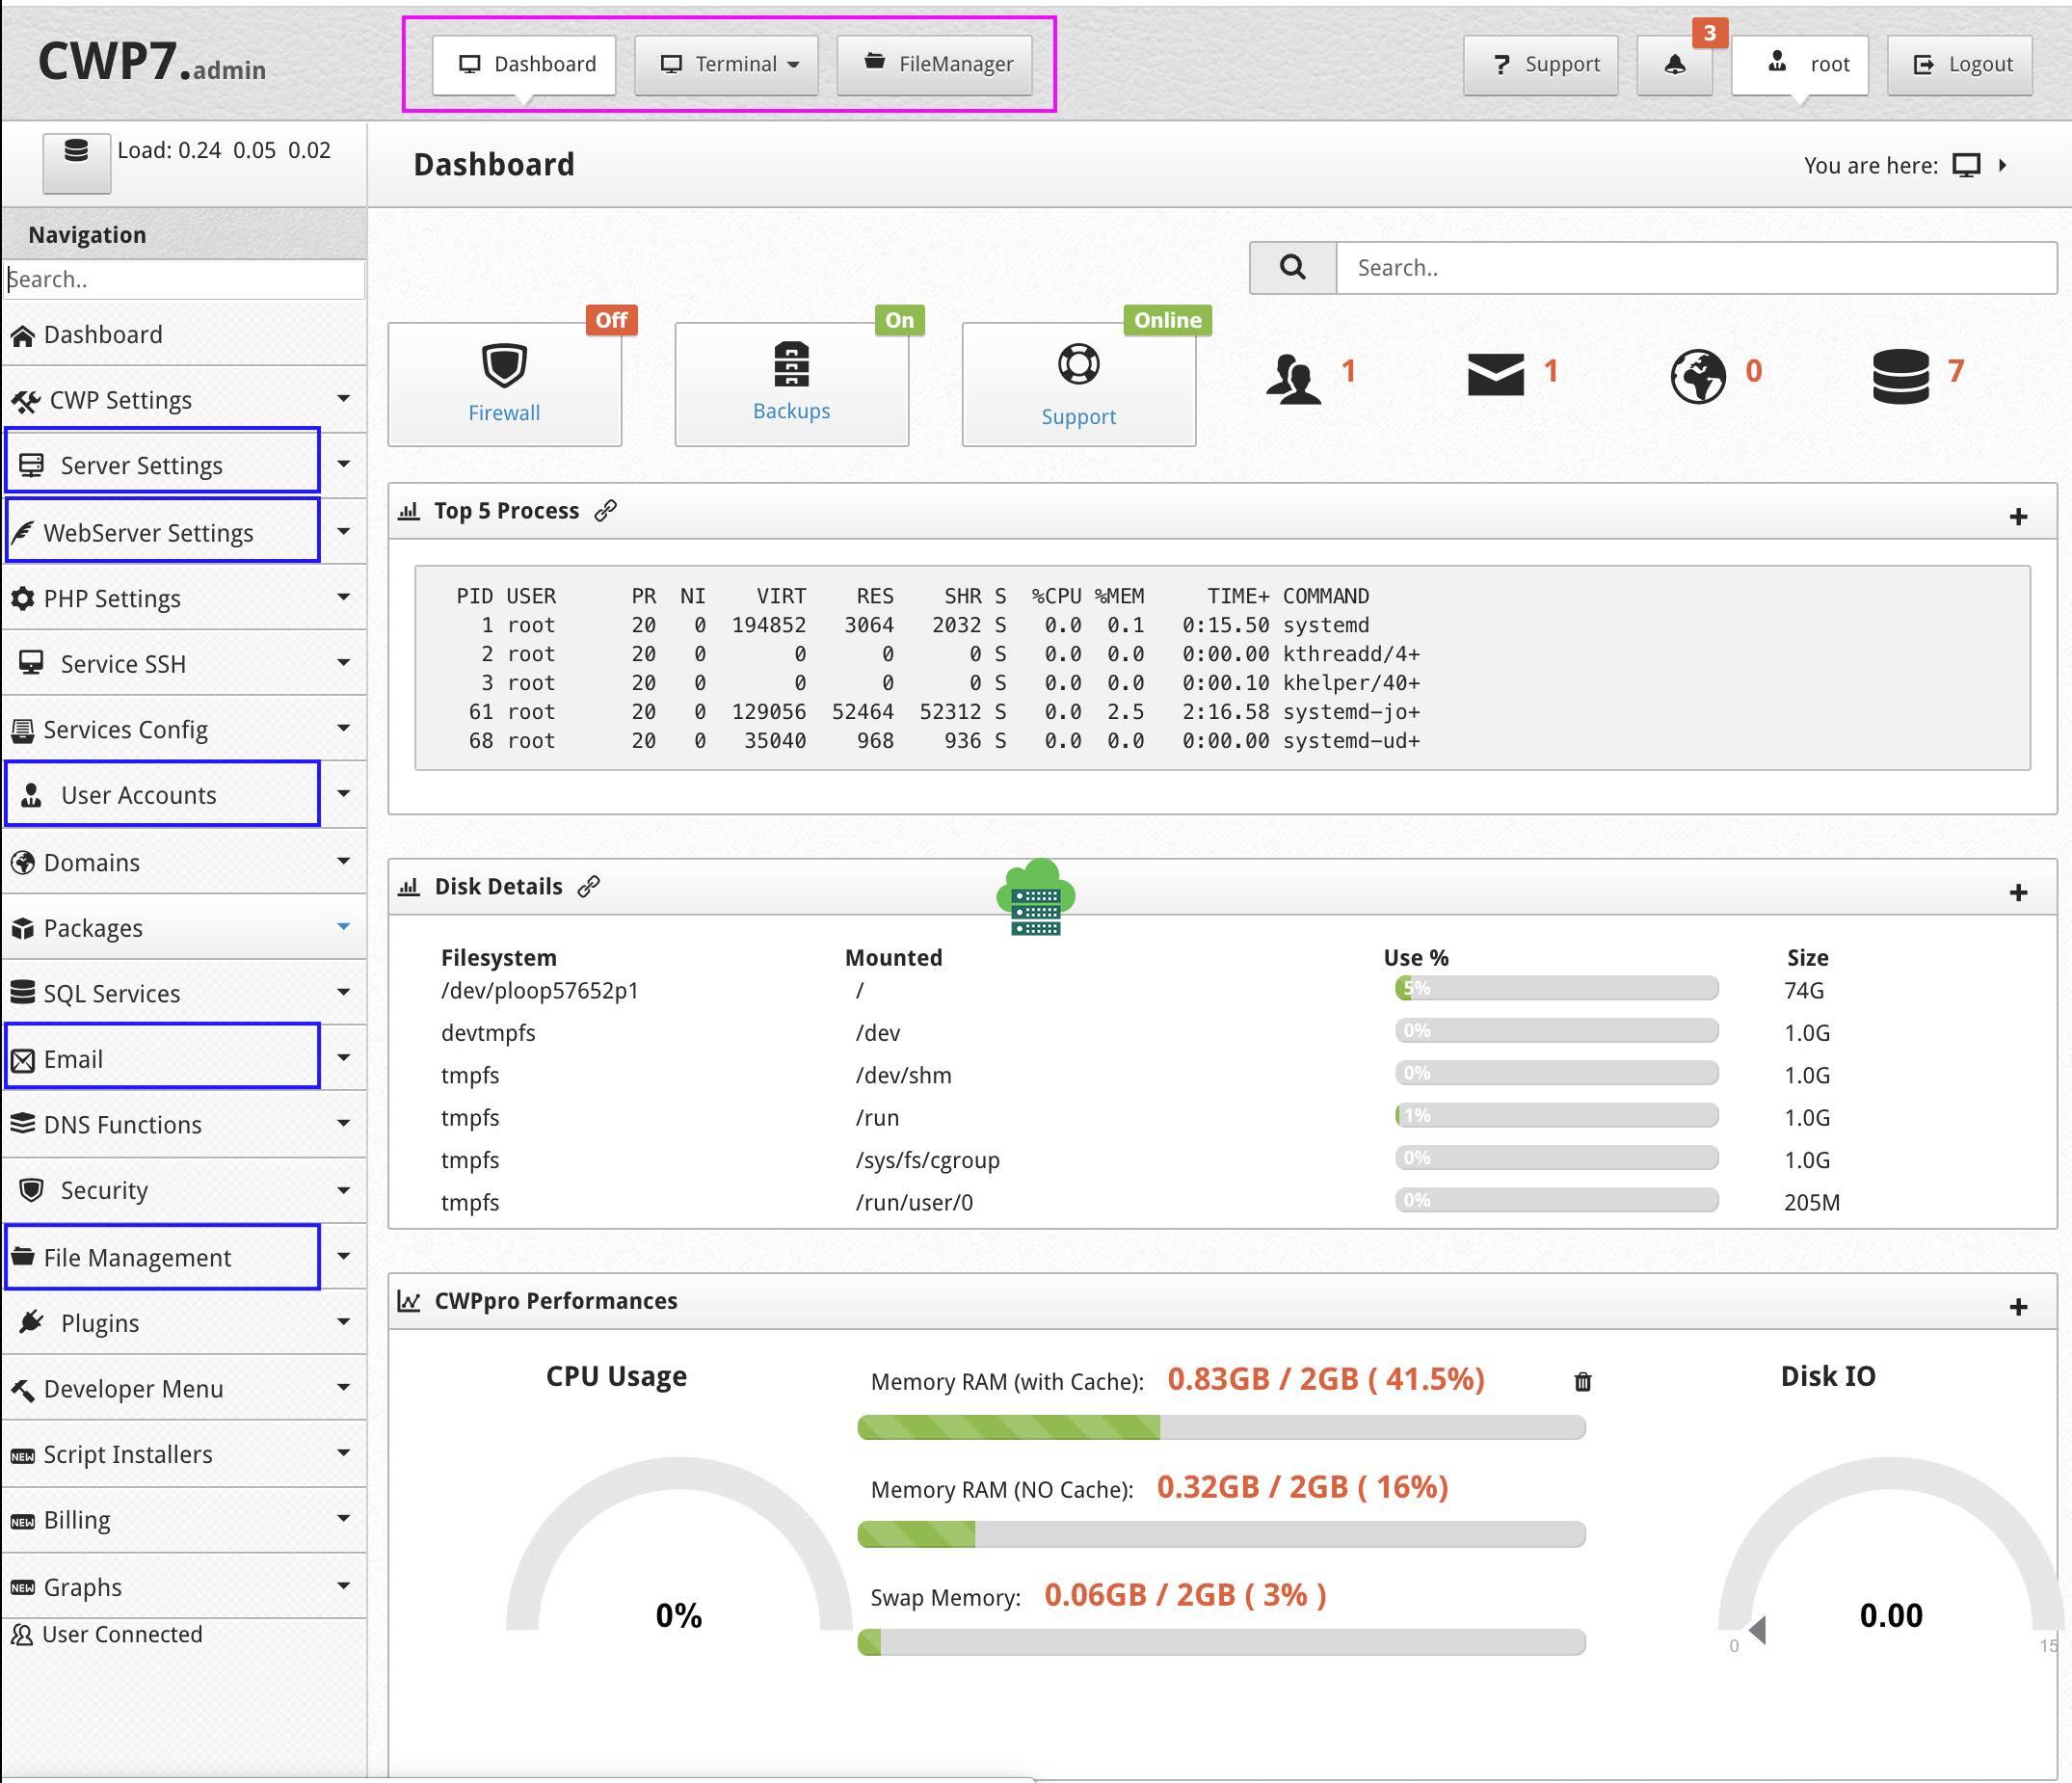
Server Settings: Change your root password, produce an SSH key, change the date and time, change the hostname, and check disk quotas. Advanced users can additionally experiment with Crontab for root and users to quickly add common and bespoke Cron Jobs.
WebServer Configuration: You can also manage webserver configurations, monitor Apache status, and manage SSL certificates, among other things, in a very easy manner.
Email: With the capabilities provided, you can manage email accounts and everything linked to them in a matter of seconds.
User Accounts: You can manage your accounts, move them from one CPW to another, and even transfer your cPanel server account. And there’s more. You may also look at the features, themes, and language options.
User Accounts: You can manage your accounts, move them from one CPW to another, and even transfer your cPanel server account. And there’s more. You may also look at the available features, themes, and languages.
File Management: This may be the most useful of all. You will no longer need to use Linux commands like scp to upload files to your server using this application! Scp is a pain in the neck, especially when you don’t recall the full paths to the files. This program will relieve you of all that anguish and provide you with the most user-friendly visual interface for creating directories/files and uploading files to your server with a few clicks. Life couldn’t be any easier!


